Zentrik MCP
Connect Zentrik MCP in Codex
Follow these screens to connect Zentrik MCP in Codex.
Use https://zentrik.ai/mcp, choose Streamable HTTP, and authenticate in the browser.
Steps
1. Open MCP Servers
Open Settings → MCP Servers.
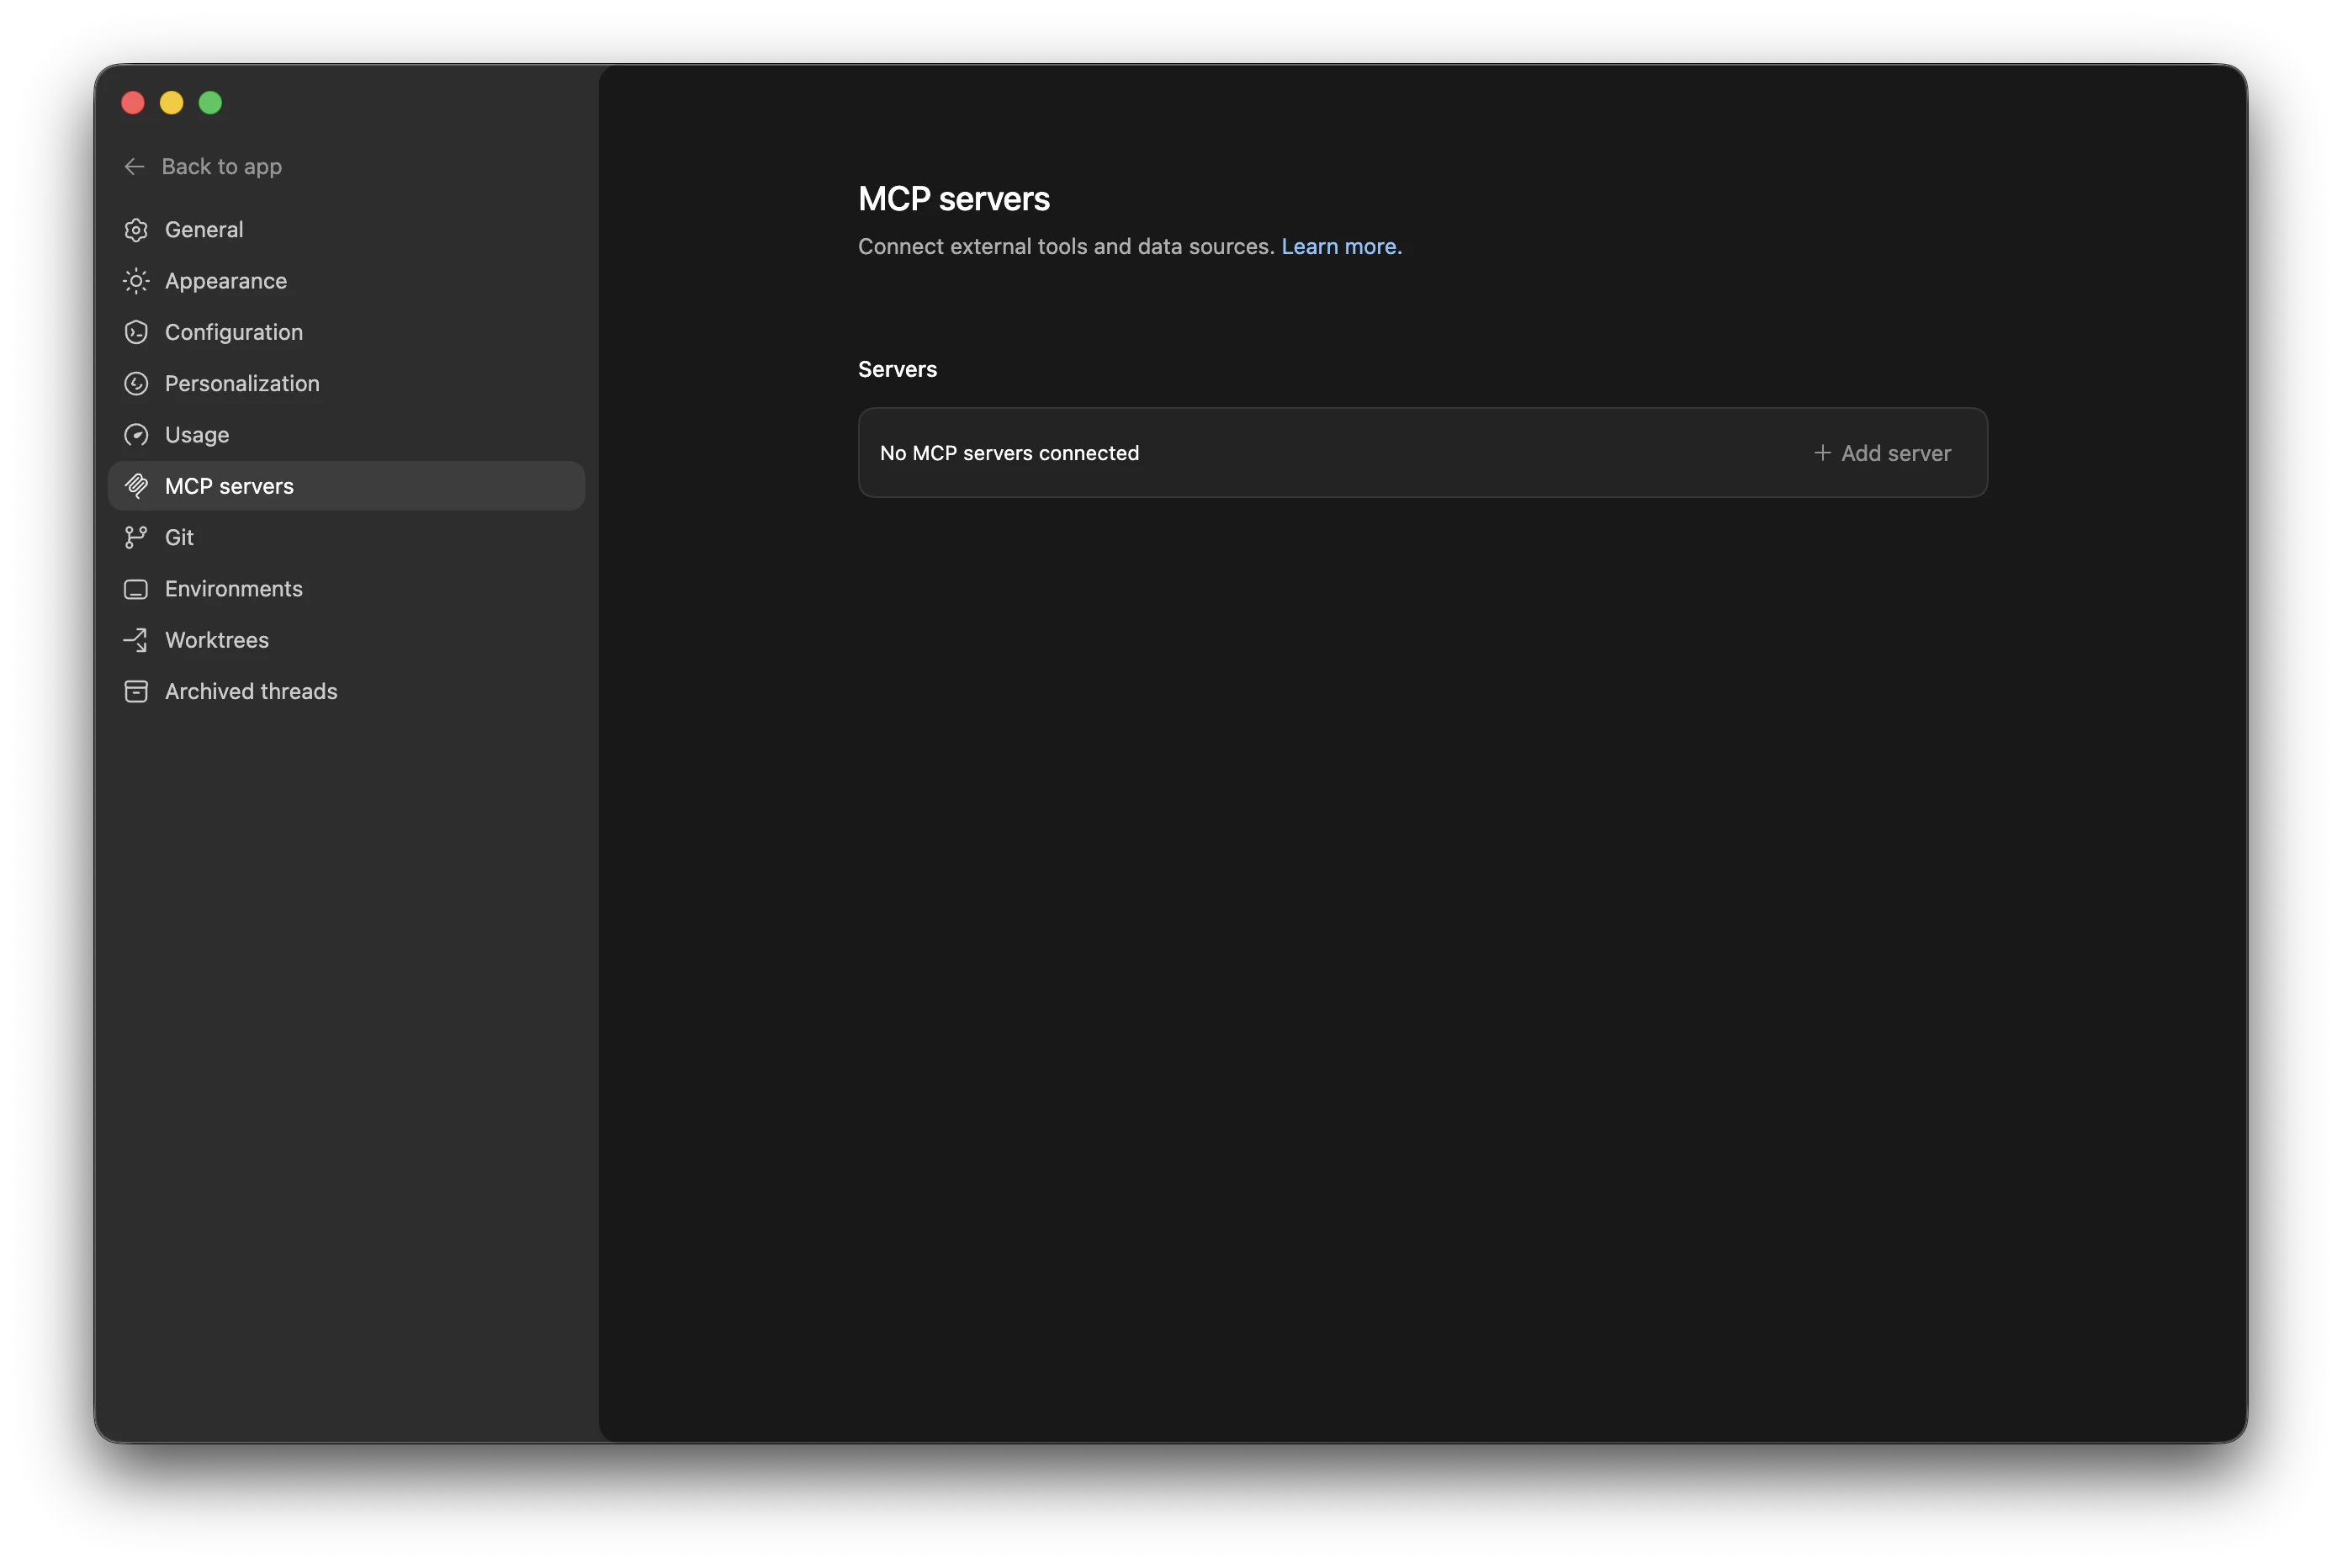
Codex MCP Servers before setup.
2. Add the server
Choose Add server, enter https://zentrik.ai/mcp, choose Streamable HTTP, leave token and header fields empty, then save.
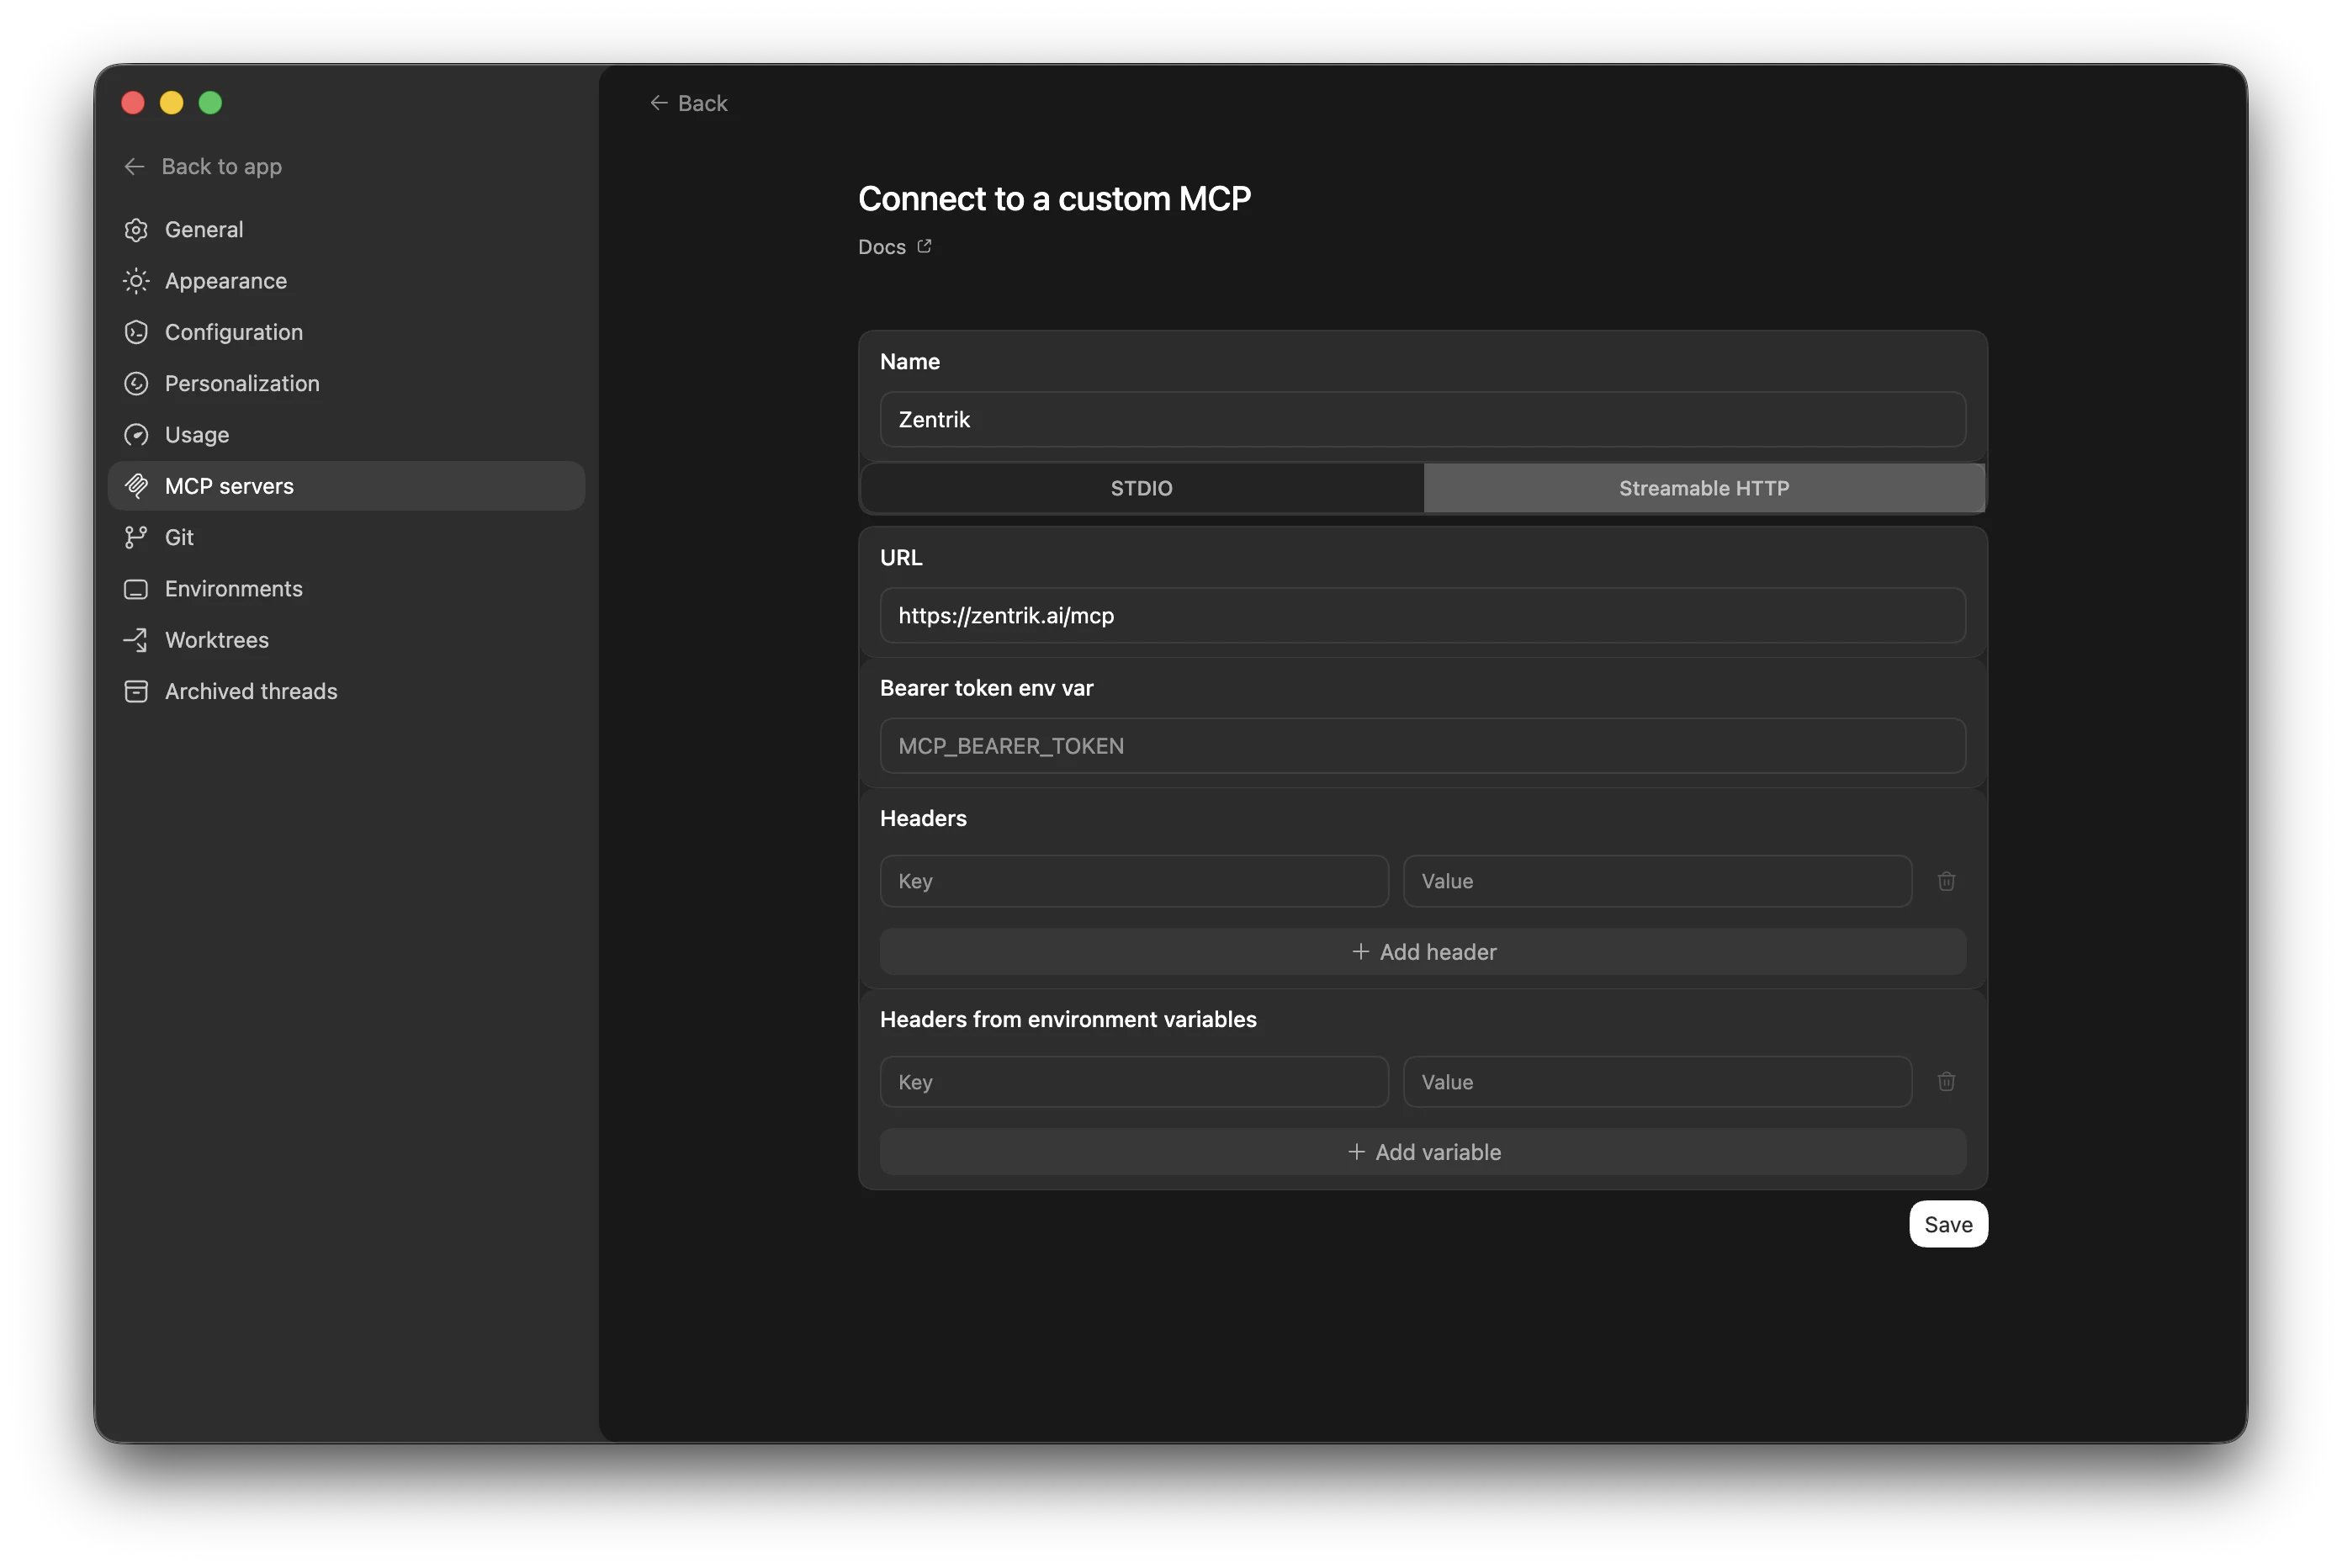
Codex custom MCP form with the Zentrik server values.
3. Authenticate
Wait for Codex to finish discovery, then use Authenticate.
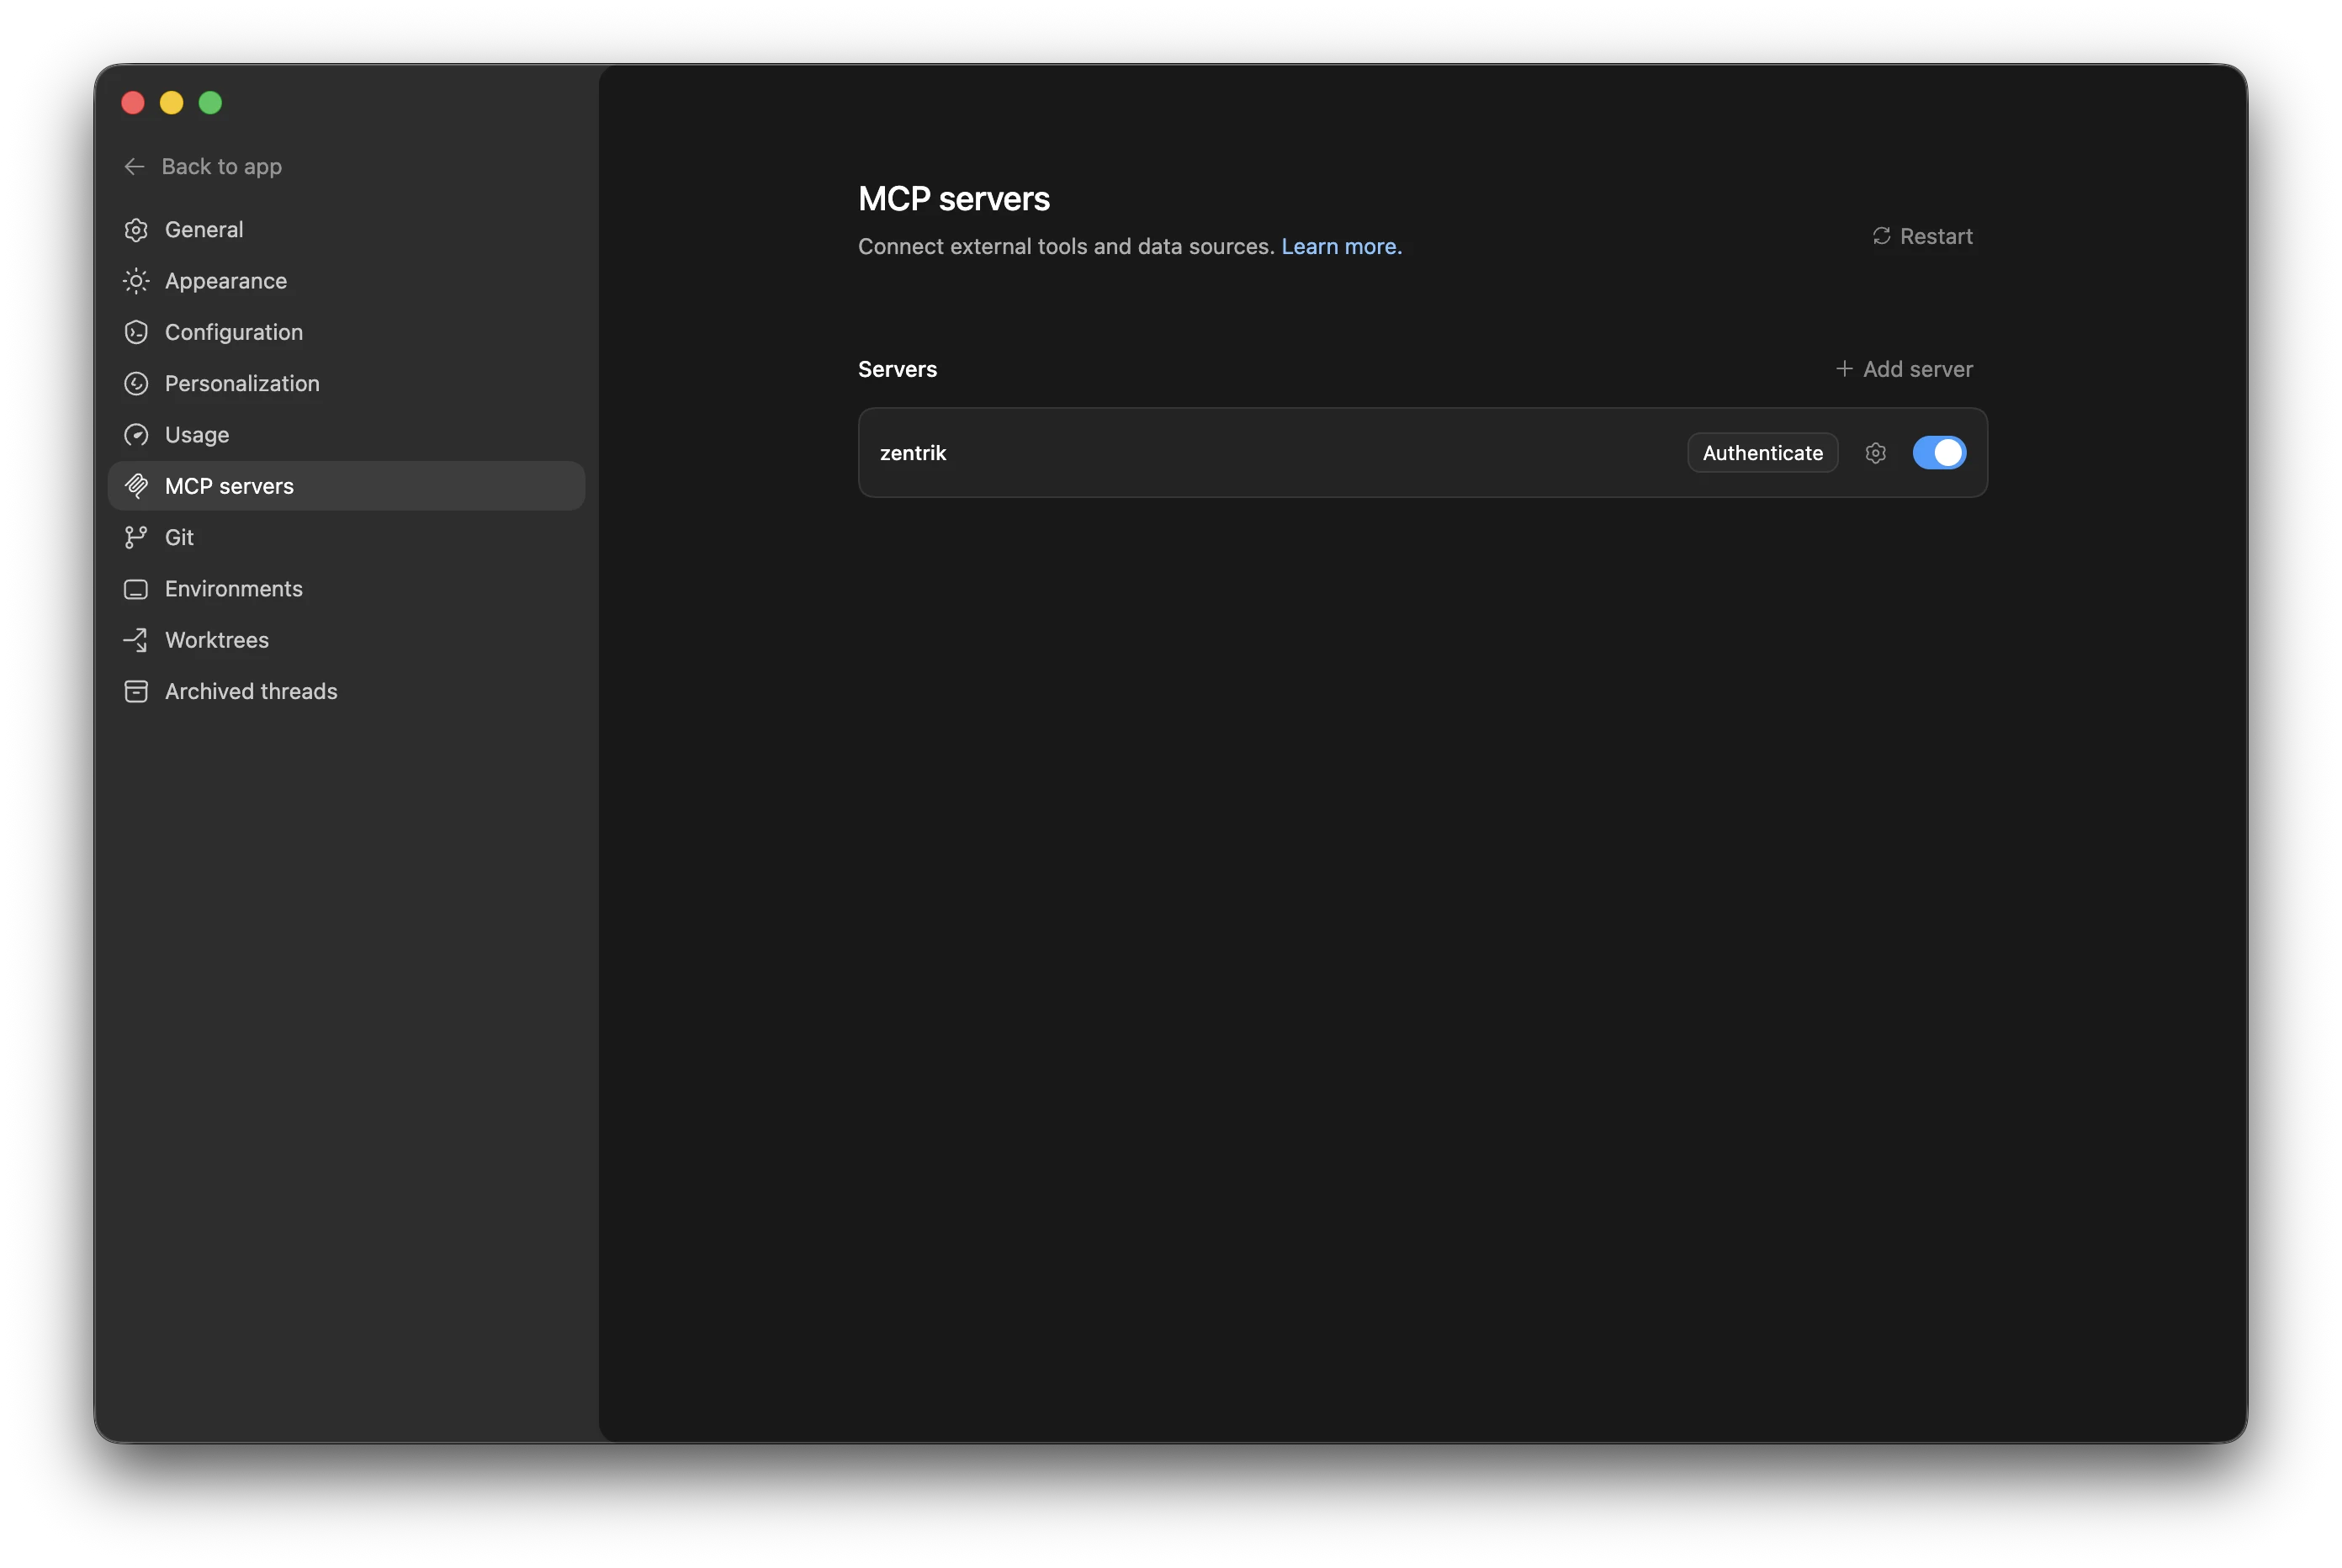
Codex server list with Zentrik ready to authenticate.
4. Approve in Zentrik
Choose the workspace for this connection and approve access.
If Authenticate does not appear, reopen Codex and confirm the server URL is exactly https://zentrik.ai/mcp.

Zentrik approval screen during MCP authentication.
You are connected
Start with narrow requests:
- ask what Zentrik already knows about a problem or idea
- pull the relevant opportunity, evidence, or context record before you act
Next:
- Customer feedback to build-ready specs for implementation-ready context from evidence
- MCP use cases
- MCP best practices
Troubleshooting
Check these steps against what you see in your workspace. If something differs, note your workspace name and the screen, then contact us.
Authenticate does not appear
Wait for discovery to finish, then reopen Codex if needed. The most common cause is a URL mismatch; it must be exactly /mcp on https://zentrik.ai.
Codex asks for a token
Do not use a workspace API key for MCP. Leave token fields empty and use the browser OAuth flow instead.
I chose the wrong workspace
Run the auth flow again and choose the correct workspace. Each MCP connection is bound to one workspace at a time.